How to Add an Image Slideshow to Your Flipbook
With Paperturn’s Image Slideshow feature (available exclusively to Pro users), you can enrich your flipbook by embedding a dynamic slideshow of up to 10 images directly onto any page. Whether you’re creating a visual portfolio, showcasing a product range, or simply adding flair, this interactive element is a powerful new tool.
Follow the steps below to get started:
HOW TO INSERT IMAGES/GIF FILES INTO YOUR FLIPBOOK
Step 1:
Click LINKS/VIDEO & SEO on the toolbar.

Step 2:
Select the page you want to add your Slideshow to from the left-hand Page Navigation and click Links and videos.

Step 3:
Click Insert Slideshow.

You can now get started on your slideshow.

When you have your image list, you can add links to the individual images by clicking the Pencil next to each one.

You can also rearrange your images by dragging on the = in front of each image.
Note: All images must have the same aspect ratio to ensure proper display.
Mismatched sizes may cause distortion.
Slideshow Options
You can customize your slideshow using the following options:
Autoplay: Automatically advances images every 3 seconds (default). You can change this duration using the dropdown.
Loop: Continuously cycles through the slideshow.
Random: Displays images in a random order.
Show navigation arrows: Enables forward/back buttons. This is mandatory if Autoplay is disabled.
Transition: Choose between Fade or Slide transitions. (More transition effects are coming soon!)
Step 4:
Finalizing Your Slideshow
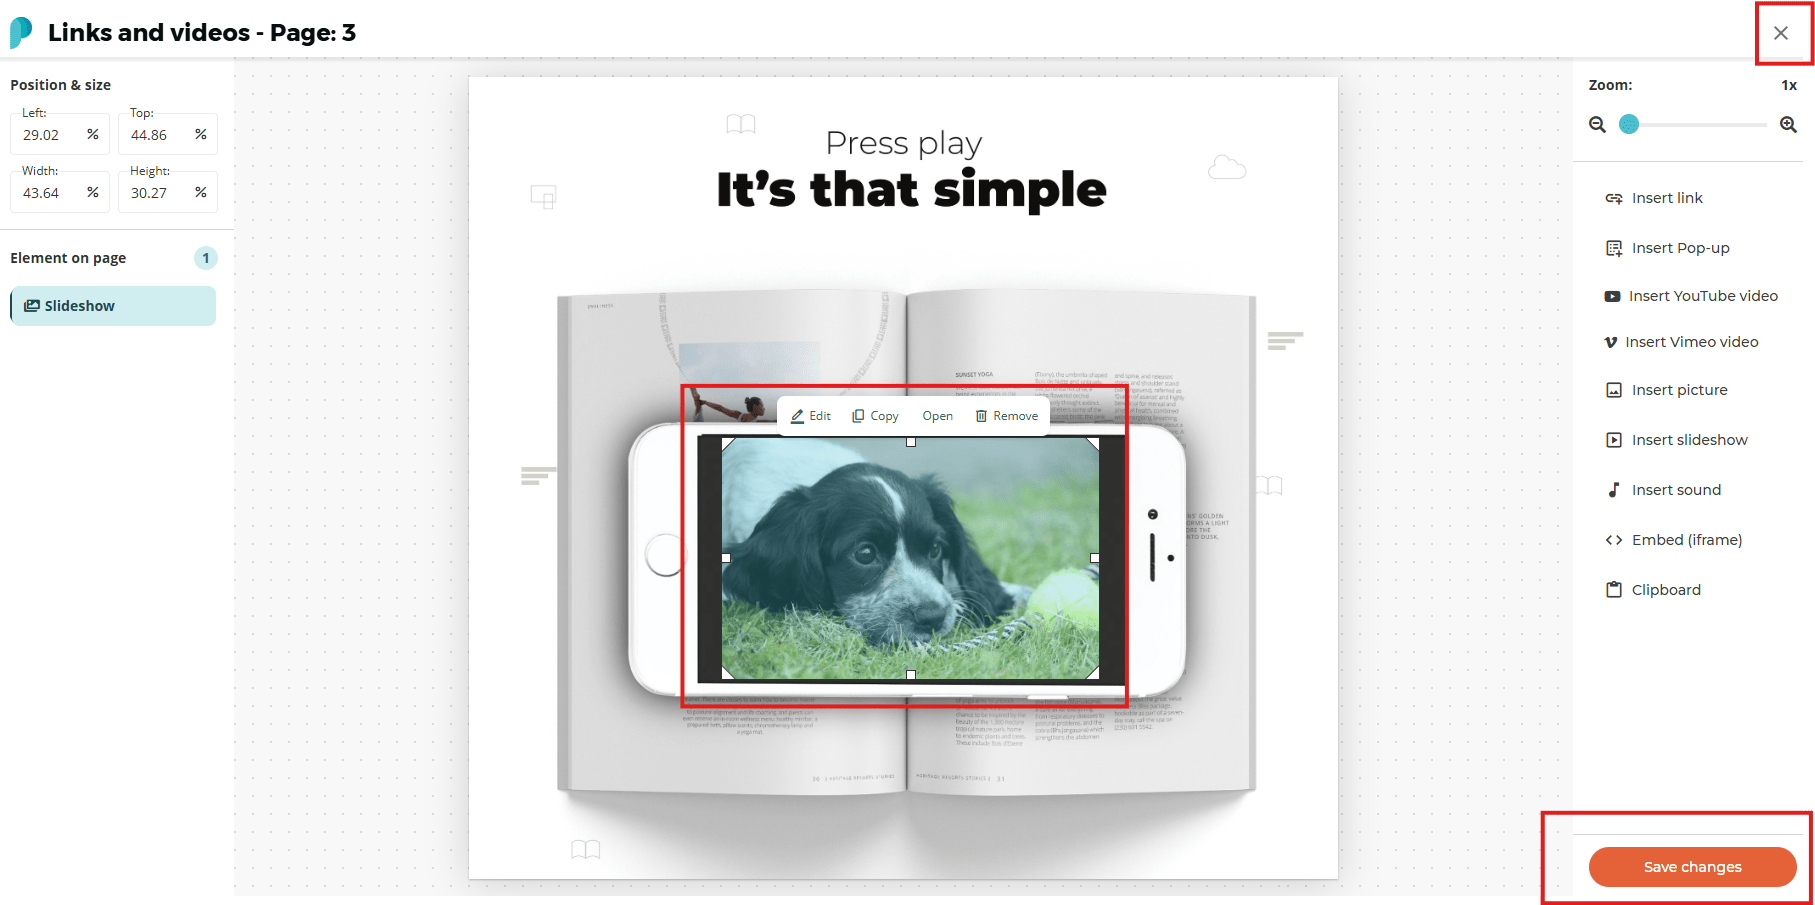
Once you’ve arranged and customized your slideshow, click OK to return to your flipbook page.

You will now see the first image from the slideshow placed on the page.
Move and scale the Slideshow to the preferred size and location on the page, click Save changes and X out of the Paperturn Editor when you’re finished.

You can now view your live flipbook to see your new slideshow in action!
((embed flipbook))